Spring MVC
目录:
开始
先新建一个项目,这里就命名为springMVC。
在build.gradle中添加以下依赖:
//mysql
compile group: 'mysql', name: 'mysql-connector-java', version: '5.1.26'

//spring依赖包
// https://mvnrepository.com/artifact/org.springframework/spring-tx
compile group: 'org.springframework', name: 'spring-tx', version: '4.3.14.RELEASE'

// https://mvnrepository.com/artifact/org.springframework/spring-webmvc
compile group: 'org.springframework', name: 'spring-webmvc', version: '4.3.14.RELEASE'

//springMVC包
compile group: 'org.springframework', name: 'spring-webmvc', version: '4.3.14.RELEASE'
在java/com.java.controller下新建一个UserController.java,内容如下:
package com.java.controller;

import org.springframework.stereotype.Controller;
import org.springframework.web.bind.annotation.RequestMapping;

//控制层 @controller控制层组件,被扫描后会注册成bean
@Controller
@RequestMapping("/success")
public class UserController {
    //请求映射
    @RequestMapping("/add")
    public String add(){
        //视图信息,根据视图解析规则拼接具体页面信息
        return "/add";//     /WEB-INF/views/add.jsp
    }

    @RequestMapping("/update")
    public String update(){
        return "/update";
    }

    @RequestMapping("/delete")
    public String delete(){
        return "/delete";
    }

    @RequestMapping("/findById")
    public String findById(){
        return "/findById";
    }

    @RequestMapping("/findByProp")
    public String findByProp(){
        return "/findByProp";
    }
}
在resources/config下新建一个springmvc.xml,内容如下:
<?xml version="1.0" encoding="UTF-8"?>
<beans xmlns="http://www.springframework.org/schema/beans"
       xmlns:mvc="http://www.springframework.org/schema/mvc"
       xmlns:aop="http://www.springframework.org/schema/aop"
       xmlns:context="http://www.springframework.org/schema/context"
       xmlns:xsi="http://www.w3.org/2001/XMLSchema-instance"
       xsi:schemaLocation="
            http://www.springframework.org/schema/beans
            http://www.springframework.org/schema/beans/spring-beans.xsd
            http://www.springframework.org/schema/context
            http://www.springframework.org/schema/context/spring-context.xsd
            http://www.springframework.org/schema/mvc
            http://www.springframework.org/schema/mvc/spring-mvc.xsd
            http://www.springframework.org/schema/aop
            http://www.springframework.org/schema/aop/spring-aop.xsd ">
    <!--springmvc的扫描包,识别@Controller,生成bean-->
    <context:component-scan base-package="com.java.controller"/>
    <!--注解驱动配置-->
    <mvc:annotation-driven/>
    <!--视图解析器配置-->
    <bean id="viewResol" class="org.springframework.web.servlet.view.InternalResourceViewResolver">
        <!--前缀属性,/WEB-INF/views-->
        <property name="prefix" value="/WEB-INF/views"/>
        <!--后缀属性-->
        <property name="suffix" value=".jsp"/>
    </bean>
</beans>
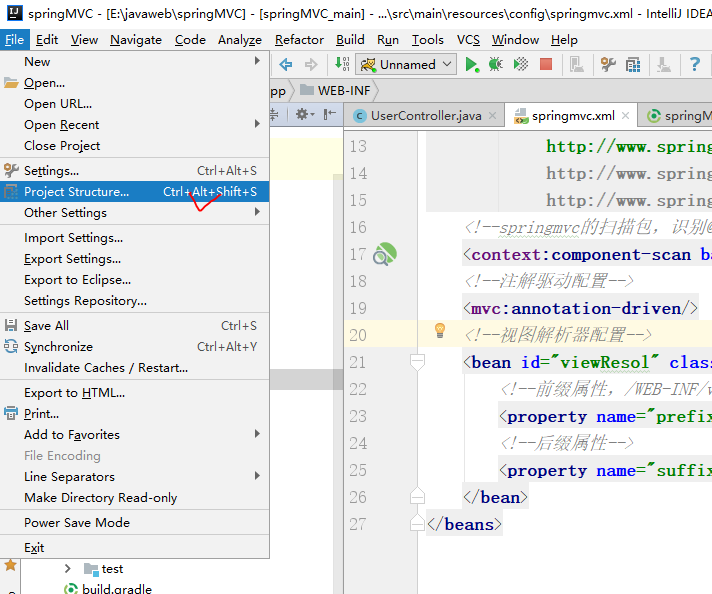
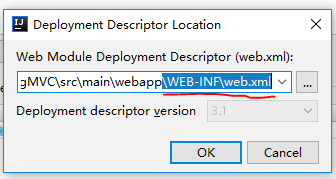
添加web.xml
在webapp/WEB-INF下添加web.xml,操作如下:
步骤1:
步骤2:
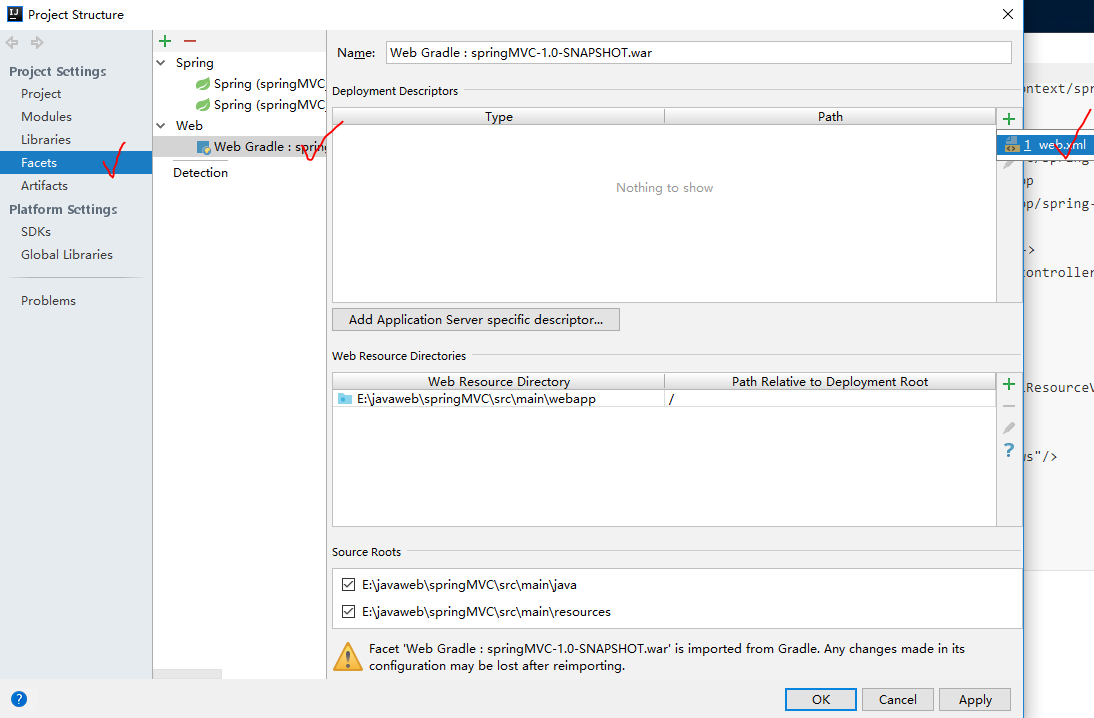
步骤3:
修改web.xml的内容如下:
<?xml version="1.0" encoding="UTF-8"?>
<web-app xmlns="http://xmlns.jcp.org/xml/ns/javaee"
xmlns:xsi="http://www.w3.org/2001/XMLSchema-instance"
xsi:schemaLocation="http://xmlns.jcp.org/xml/ns/javaee http://xmlns.jcp.org/xml/ns/javaee/web-app_3_1.xsd"
version="3.1">
<!--servlet的配置-->
<servlet>
<servlet-name>springMVCDisptch</servlet-name>
<servlet-class>org.springframework.web.servlet.DispatcherServlet</servlet-class>
<!--初始化参数,启动springMVC容器-->
<init-param>
<param-name>contextConfigLocation</param-name>
<param-value>classpath:config/springmvc.xml</param-value>
</init-param>
<!--启动顺序-->
<load-on-startup>1</load-on-startup>
</servlet>
<!--servlet mapping 配置-->
<servlet-mapping>
<servlet-name>springMVCDisptch</servlet-name>
<!--<!–对所有请求进行处理-,/*.action,拦截所有以.action结尾的文件->-->
<url-pattern>/</url-pattern>
</servlet-mapping>
</web-app>
在webapp/WEB-INF下新建一个views的包,然后在views包下新建add.jsp、delete.jsp、update.jsp、findById.jsp、findByProp.java,如下:
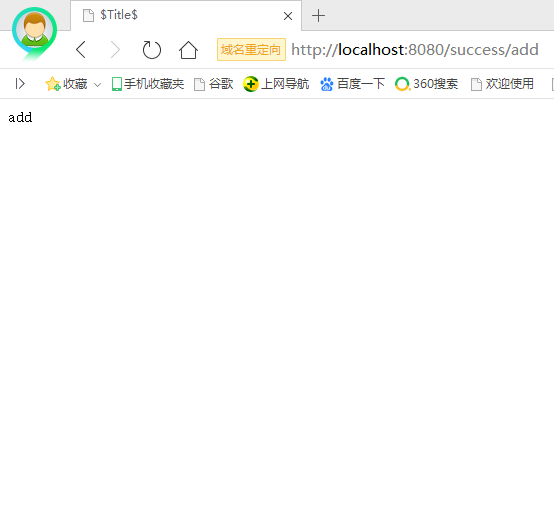
add.jsp
<%--
  Created by IntelliJ IDEA.
  User: Administrator
  Date: 2018/8/18 0018
  Time: 下午 8:57
  To change this template use File | Settings | File Templates.
--%>
<%@ page contentType="text/html;charset=UTF-8" language="java" %>
<html>
  <head>
    <title>$Title$</title>
  </head>
  <body>
add
  </body>
</html>
因为现在只是想实现页面的访问,里面暂时不需要其他内容。
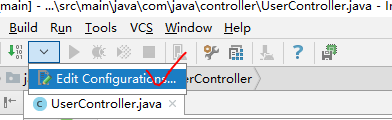
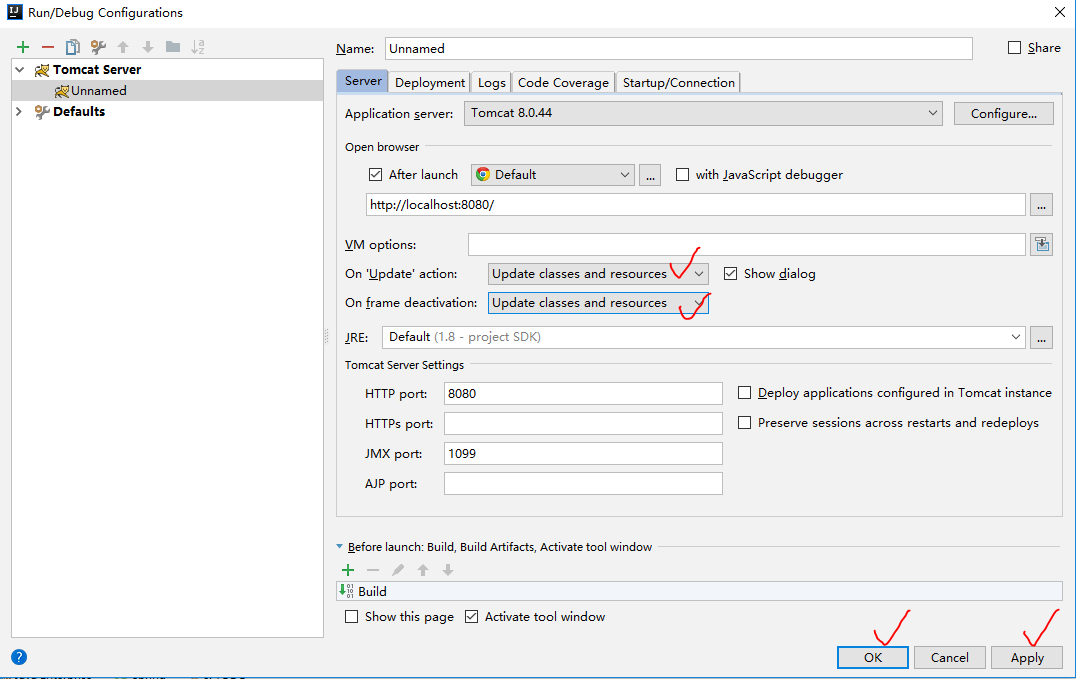
在IDEA中配置Tomcat
在IDEA中配置Tomcat,使该项目可以在浏览器中展示,配置步骤如下:
步骤1:
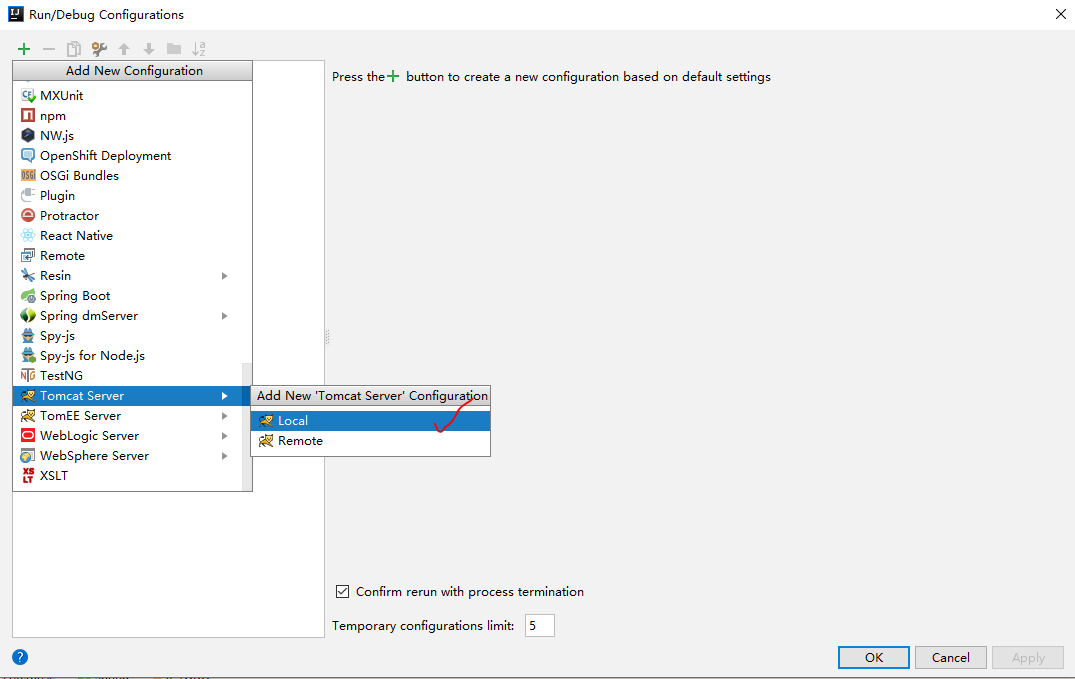
步骤2:
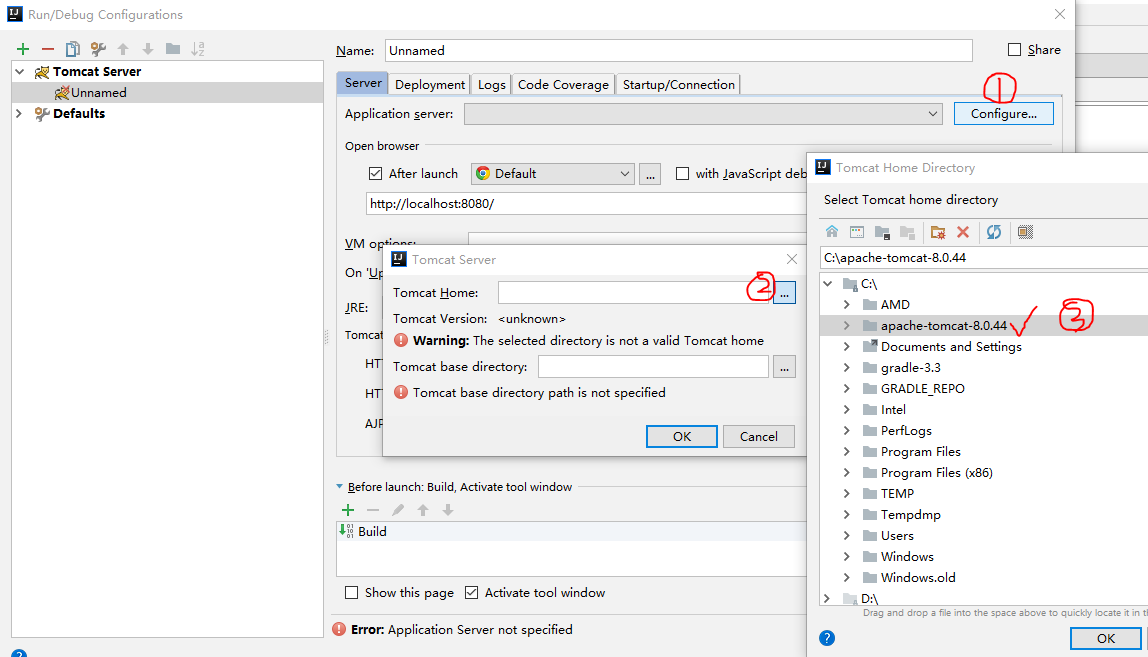
步骤3:
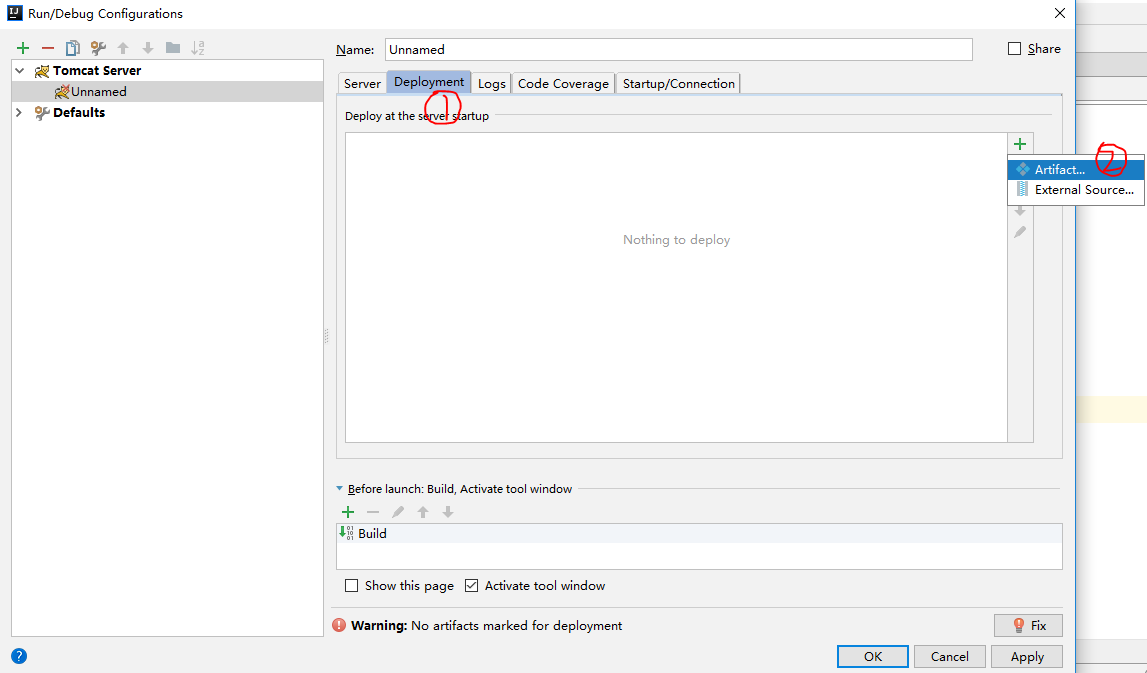
步骤4:
步骤5:
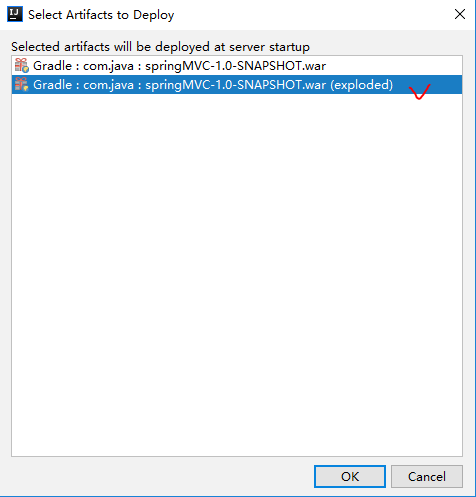
步骤6:
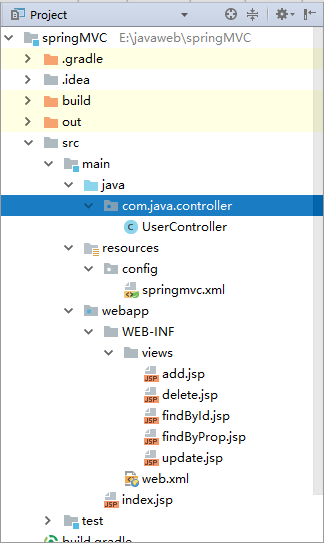
Project目录结构
整个project的目录结构如下:
效果